

Learn how to master DIY nail art with this beginner-friendly guide. Discover the essential tools, easy techniques, and creative ideas to elevate your nails at home.

Introduction
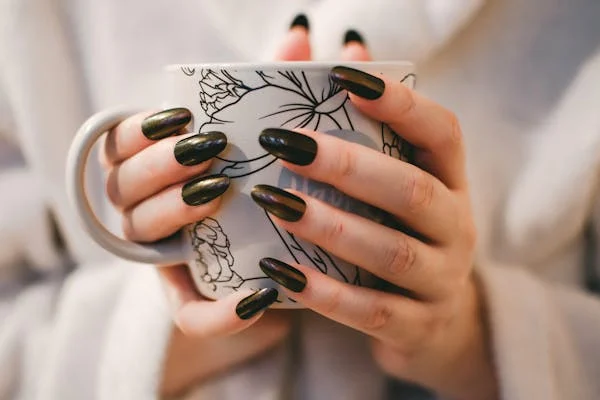
Nail art is a fun and creative way to express your personal style. Whether you prefer bold patterns or subtle designs, doing your own nail art at home is easier than you might think—and it can save you money on salon visits!
In this tutorial, we’ll show you how to get started with DIY nail art, from prepping your nails to mastering simple yet stunning designs. Even if you’re new to the world of nail art, you’ll be creating beautiful, Instagram-worthy nails in no time.
What You’ll Learn in This Guide
In this step-by-step guide, you’ll learn how to prep your nails properly, what tools you need, and how to execute simple nail art techniques like dotting, striping, and gradients. We’ll also share a few beginner-friendly designs you can try right away to elevate your look.
Gather Your Materials
Here’s what you’ll need to start your nail art journey:
- Base coat and top coat
- Nail polish in multiple colors
- Nail polish remover and cotton pads
- Nail file and buffer
- Cuticle pusher
- Dotting tool (or bobby pin, toothpick)
- Thin nail art brush (or a cleaned eyeliner brush)
- Striping tape or nail stickers (optional)
- Small sponge (for gradient designs)
- Acetone and clean-up brush (for precision)
Prepping Your Nails
Before painting, make sure your nails are clean and well-shaped:
- Remove old polish with a gentle remover.
- Shape your nails with a file—rounded, square, or almond—your choice!
- Push back your cuticles with a cuticle stick or pusher.
- Buff the surface lightly to smooth the nail bed.
- Apply a base coat to protect your nails and help the polish adhere better.
Easy Nail Art Techniques for Beginners
1. Polka Dots
Dip a dotting tool or bobby pin into polish and gently press onto the nail. Use contrasting colors for fun, eye-catching results.
2. Stripes
Use a thin brush or striping tape to create clean, vertical or horizontal lines. Paint over the tape and remove before the polish dries completely.
3. Color Block
Apply one color, let it dry, then use tape to section off parts of your nail. Paint a second color in the taped section for a modern, graphic look.
4. Gradient (Ombre)
Dab two colors onto a makeup sponge and gently press onto the nail. Repeat in layers for a soft blend. Clean the edges with a brush and acetone.
5. Accent Nail
Keep it simple by doing art on just one or two nails per hand, while leaving the others a solid color.
Finish with a Top Coat
Once your design is complete and fully dry, seal everything in with a glossy or matte top coat. This adds shine, prevents chipping, and gives your nail art a polished finish.
Final Tips & Conclusion
- Don’t rush—let each layer dry fully before moving on.
- Practice designs on a plastic sheet or paper first.
- Keep a small clean-up brush and acetone handy for mistakes.
- Try color combinations that reflect your personality or the season!
Creating your own nail art is not only fun but also relaxing and rewarding. With a bit of practice and creativity, you’ll soon be designing nails that look straight out of a salon—right from your own home.
A Real-Life Experience: My First At-Home Nail Art Attempt
I’ve always admired the intricate nail designs I’d see online but never thought I could pull them off myself. One rainy afternoon, I decided to give it a try. I grabbed a few polishes, a toothpick, and a lot of courage. My first attempt? A simple white base with pink polka dots.
Was it perfect? Not even close. But I was amazed at how fun and satisfying it was. With each new design I tried—stripes, ombré, even little hearts—I got better. Now, I look forward to my weekly “nail day” as a creative escape. It’s become a mini ritual that not only saves me money but brings me a surprising amount of joy.


