

Learn how to build your very own treehouse with this detailed step-by-step guide. From selecting the right tree to finishing touches, get all the tips you need for a safe and fun treehouse project.
Build Your Dream Treehouse with These Simple Steps
Building a treehouse can be a rewarding project that provides a fun, cozy escape. Whether you’re creating a play space for kids or a relaxing retreat, this guide will walk you through the entire process. From choosing the right tree to adding finishing touches, you’ll learn everything you need to know to build a safe and sturdy treehouse.
Step 1: Choose the Right Tree
The foundation of your treehouse depends on selecting a strong, healthy tree that can support the weight of the structure.
- What to Do:
- Choose a tree with a thick trunk and multiple strong branches (ideally at least 10–12 feet off the ground).
- Ensure the tree is healthy, with no signs of disease or damage.
- Consider trees like oak, maple, or pine, as they tend to have sturdy branches.
- Avoid trees with shallow root systems or trees that are prone to dropping large branches.
Step 2: Design Your Treehouse
Before you start building, plan out your treehouse design. Think about the purpose, size, and features you want to include.
- What to Do:
- Sketch your treehouse design, including measurements, the height, and features like windows, a ladder, or a porch.
- Consider the layout of the treehouse in relation to the tree. Ensure the structure doesn’t put excessive strain on any single branch.
- Check local building codes to ensure your treehouse is compliant with safety standards, especially if it’s for kids or public use.
Step 3: Gather Materials and Tools
Once you have your design, it’s time to gather all the necessary materials and tools.
- What to Do:
- Materials: pressure-treated lumber (for framing and decking), screws, bolts, lag screws, brackets, plywood (for flooring and walls), roofing materials, safety gear.
- Tools: a saw (circular or hand), drill, level, hammer, measuring tape, wrench, safety goggles, gloves, ladder, and possibly a rope hoist for lifting heavy materials into the tree.
Step 4: Build the Foundation
The foundation is the most critical part of your treehouse’s stability. Depending on the tree and design, you can either build a platform that rests on branches or attach the structure to the tree trunk.
- What to Do:
- For platform-based designs, build a floor frame using pressure-treated lumber. Make sure it’s level and secure.
- Use strong lag bolts to attach the platform to the tree, ensuring that the weight is evenly distributed across multiple branches.
- If you’re building a more advanced structure, consider adding additional supports, such as cables or braces, to further stabilize the treehouse.
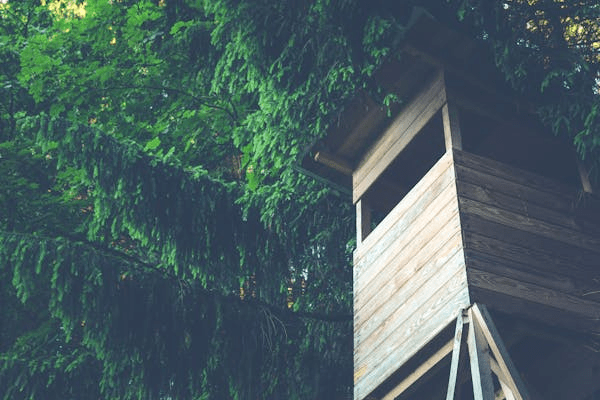
Step 5: Construct the Walls and Roof
Once the foundation is complete, start adding the walls and roof. These will provide shelter and protect against weather.
- What to Do:
- Build the walls using plywood and frame them with lumber. You can cut holes for windows or add a door as part of your design.
- Attach the walls to the platform, securing them with screws and brackets.
- For the roof, use plywood and roofing materials such as shingles or metal sheets. Ensure the roof is slanted to allow rainwater to drain off.
- Consider adding a railing for safety, especially if your treehouse is high off the ground.
Step 6: Install the Ladder or Stairs
To access your treehouse, you’ll need a safe and sturdy ladder or set of stairs.
- What to Do:
- Build or purchase a wooden ladder, or create stairs with secure treads and a handrail if the treehouse is high enough.
- Attach the ladder or stairs securely to the tree or the treehouse itself. Ensure they are sturdy and safe for use.
Step 7: Add Finishing Touches
Once the main structure is built, it’s time to add finishing touches that will make the treehouse more comfortable and enjoyable.
- What to Do:
- Paint or stain the treehouse to protect it from the elements and give it a unique look.
- Add cushions, a rug, or decorations for a cozy feel.
- Install safety features like a solid railing and secure windows or mesh to keep children safe.
- Consider adding electricity or lighting if desired, but make sure to hire a professional if necessary for electrical work.
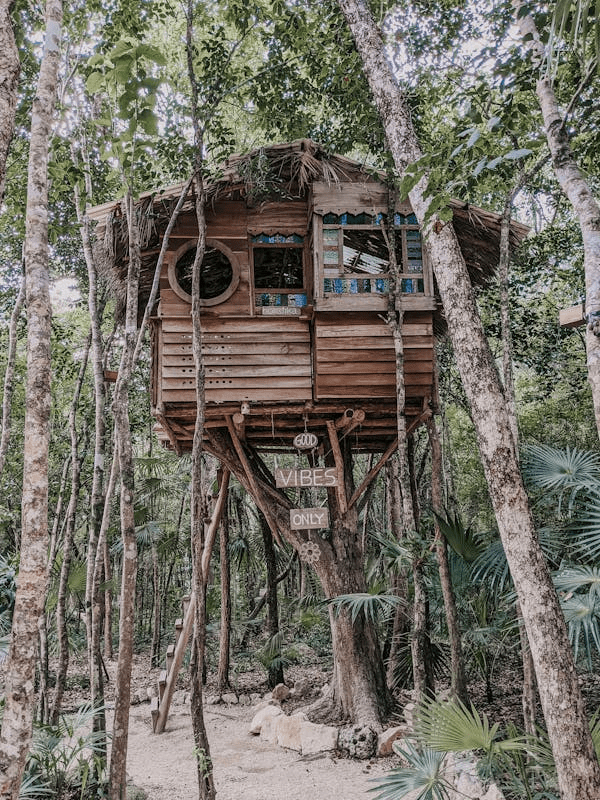
A Real-Life Experience: My Treehouse Project
A few years ago, I decided to build a treehouse in my backyard as a personal retreat. I remember being excited but also overwhelmed by the amount of planning involved. After selecting a sturdy oak tree, I spent hours designing the layout, making sure it was both practical and safe.
The real challenge came when building the platform. It was a hot summer day, and lifting heavy materials into the tree was more difficult than I expected. I had to take extra care to secure the foundation properly. By the time the walls and roof went up, I was exhausted, but seeing the treehouse start to take shape made it all worth it.
Looking back, I realize how much I learned from the process—from understanding how to distribute weight on the tree to making sure everything was secure. The treehouse turned out to be the perfect spot for relaxation, and it’s still standing strong to this day!


