

Learn how to master the art of calligraphy with this step-by-step guide. Whether you want to create beautiful handwritten invitations or enhance your artistic skills, calligraphy is a rewarding craft to explore.
Master the elegant art of beautiful lettering with these essential techniques.
Calligraphy is the art of beautiful, decorative handwriting that transforms simple writing into an elegant and expressive visual form. Whether you’re interested in adding a personal touch to your letters or creating intricate art pieces, learning calligraphy is both fun and fulfilling. This tutorial will guide you through the foundational steps to get started with calligraphy, from choosing the right tools to mastering basic strokes, and creating your own lettering style. With practice, you’ll be able to create stunning pieces of art with your penmanship.
Step 1: Choose Your Calligraphy Tools
The first step in learning calligraphy is gathering the right tools.
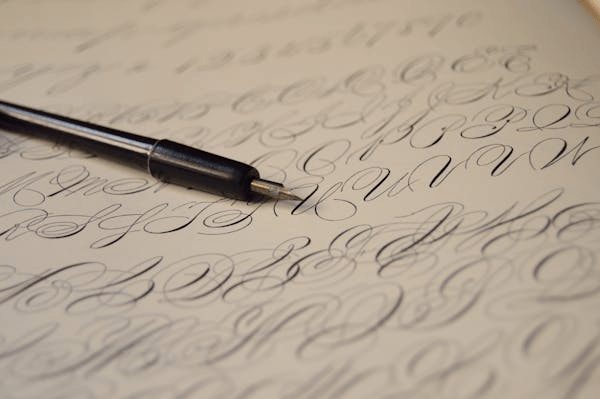
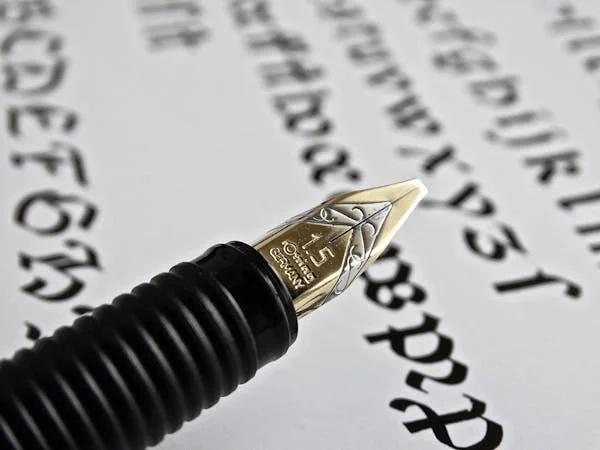
- Pen Types: There are several types of pens you can use for calligraphy, but beginners typically start with a dip pen or brush pen. Dip pens have nibs that are dipped into ink, while brush pens have a flexible brush tip.
- Dip Pen: Requires a nib (metal part that holds ink) and an ink bottle. It’s great for creating traditional calligraphy styles.
- Brush Pen: A more accessible option for beginners, as it has a flexible brush tip that allows you to create thick and thin strokes easily. It’s great for modern calligraphy.
- Ink: If using a dip pen, you’ll need ink. Black ink is most common, but there are many colors and types available for creative work.
- Paper: Choose smooth, bleed-resistant paper to practice on. Some calligraphy papers are designed for ink and will prevent smudging or feathering.
- Ruler & Pencil: For drawing guidelines to ensure even spacing and alignment of letters.
Step 2: Learn Basic Calligraphy Strokes
Before you start forming letters, it’s important to practice basic strokes. These will serve as the foundation for your lettering.
- Upstrokes and Downstrokes: Calligraphy is all about varying the thickness of your strokes.
- Upstrokes: These strokes are thin and created by gently lifting your pen.
- Downstrokes: These strokes are thick and created by applying more pressure to the pen.
- Overlapping Strokes: In many calligraphy styles, you’ll create shapes by layering thin and thick strokes. Practice drawing lines that go from thin to thick and back to thin.
- Curved Strokes: Practice smooth, curved lines that flow from one stroke to another. These curves are the basis for many letters.
Step 3: Understand the Basic Calligraphy Alphabet
Once you’re comfortable with basic strokes, begin practicing individual letters.
- Lowercase Letters: Most calligraphy styles start with lowercase letters, as they have simpler forms. Begin with the basic shapes like “a,” “b,” “c,” and “d” using the strokes you’ve practiced.
- Consistency: Practice writing each letter several times, focusing on maintaining consistent thickness for the downstrokes and thinness for the upstrokes.
- Join Letters: After practicing individual letters, start connecting them together to form words. Pay attention to the spacing and flow between the letters.
Step 4: Explore Different Calligraphy Styles
There are various calligraphy styles to explore once you’ve mastered basic strokes and letterforms.
- Traditional Styles: Some of the most common calligraphy styles include:
- Italic Calligraphy: A classic and elegant style, often used in invitations and formal documents.
- Copperplate Calligraphy: Known for its flowing, script-like appearance, Copperplate uses thin upstrokes and thick downstrokes.
- Gothic Calligraphy: A bold and ornate style that originated in the Middle Ages, often used for formal writing.
- Modern Calligraphy: A more relaxed and creative style that breaks away from traditional rules. It’s often used for wedding invitations, greeting cards, and artwork. Modern calligraphy is versatile and can incorporate elements like flourishes and decorative touches.
Step 5: Practice Letter Connections and Spacing
Once you’re comfortable with individual letters, start working on joining them together to form words.
- Spacing: Consistent spacing is key in calligraphy. Use a pencil and ruler to create light lines to guide the size of each letter and ensure proper spacing.
- Ligatures and Flourishes: Adding flourishes and embellishments to your letters can make your calligraphy more artistic. Ligatures are connections between certain letters, and flourishes are decorative elements that add elegance to your work.
- Practice Common Words: Once you’ve mastered individual letters, practice writing common words, phrases, or even short sentences.
Step 6: Experiment with Color and Additional Techniques
Adding color or texture can enhance your calligraphy work.
- Watercolors and Markers: Experiment with adding watercolor or colored inks to your calligraphy. You can paint the background, add color to certain letters, or even use colored pens for a modern touch.
- Gold Leaf and Embellishments: For advanced calligraphy, try adding gold leaf or other embellishments to your work to make it stand out. These can be added as accents to your letters or background designs.
Step 7: Practice Regularly
As with any skill, consistent practice is key to improving your calligraphy.
- Create Practice Sheets: Use worksheets with guidelines and letterforms to practice. These can help you focus on improving your letter formation, stroke consistency, and spacing.
- Write Daily: Set aside time each day to practice. Start with individual letters, then progress to words and sentences.
- Experiment with Different Tools: Try different pens, brushes, and papers to discover what works best for you.
Bonus Tips for Learning Calligraphy
- Use Guidelines: Guidelines help you maintain consistency in letter height and spacing. Draw light pencil lines or use pre-printed practice sheets.
- Be Patient: Calligraphy takes time to master. Don’t get discouraged if your letters aren’t perfect right away.
- Watch Tutorials: There are plenty of online resources, including YouTube channels and calligraphy courses, that can offer tips, tricks, and demonstrations.
- Learn from Others: Join calligraphy groups, both online and in person, to exchange tips, get feedback, and stay motivated.
Conclusion
Learning calligraphy is a rewarding and creative pursuit that can transform your handwriting into a beautiful form of art. By starting with the basics—tools, strokes, and letterforms—and practicing regularly, you’ll develop your skills and find your own unique calligraphy style. Whether you’re designing greeting cards, creating artwork, or adding a personal touch to invitations, calligraphy offers endless possibilities for creative expression. Keep practicing and enjoy the journey of mastering this elegant craft!
A Real-Life Experience: My First Calligraphy Attempt
A few months ago, I decided to try calligraphy to make my birthday invitations extra special. At first, my attempts were far from perfect—my strokes were uneven, and the letters didn’t look anything like the ones I admired online. But after practicing basic strokes daily, I started to improve. The most rewarding part was experimenting with modern calligraphy, adding flourishes, and even using watercolor for a pop of color. By the end, I was able to create beautiful, custom invitations that my friends loved. Calligraphy turned out to be not only a fun skill to learn but also a relaxing and creative outlet!

